Deploying a Nuxt 3 Application to a VPS Using GitHub Actions, PM2
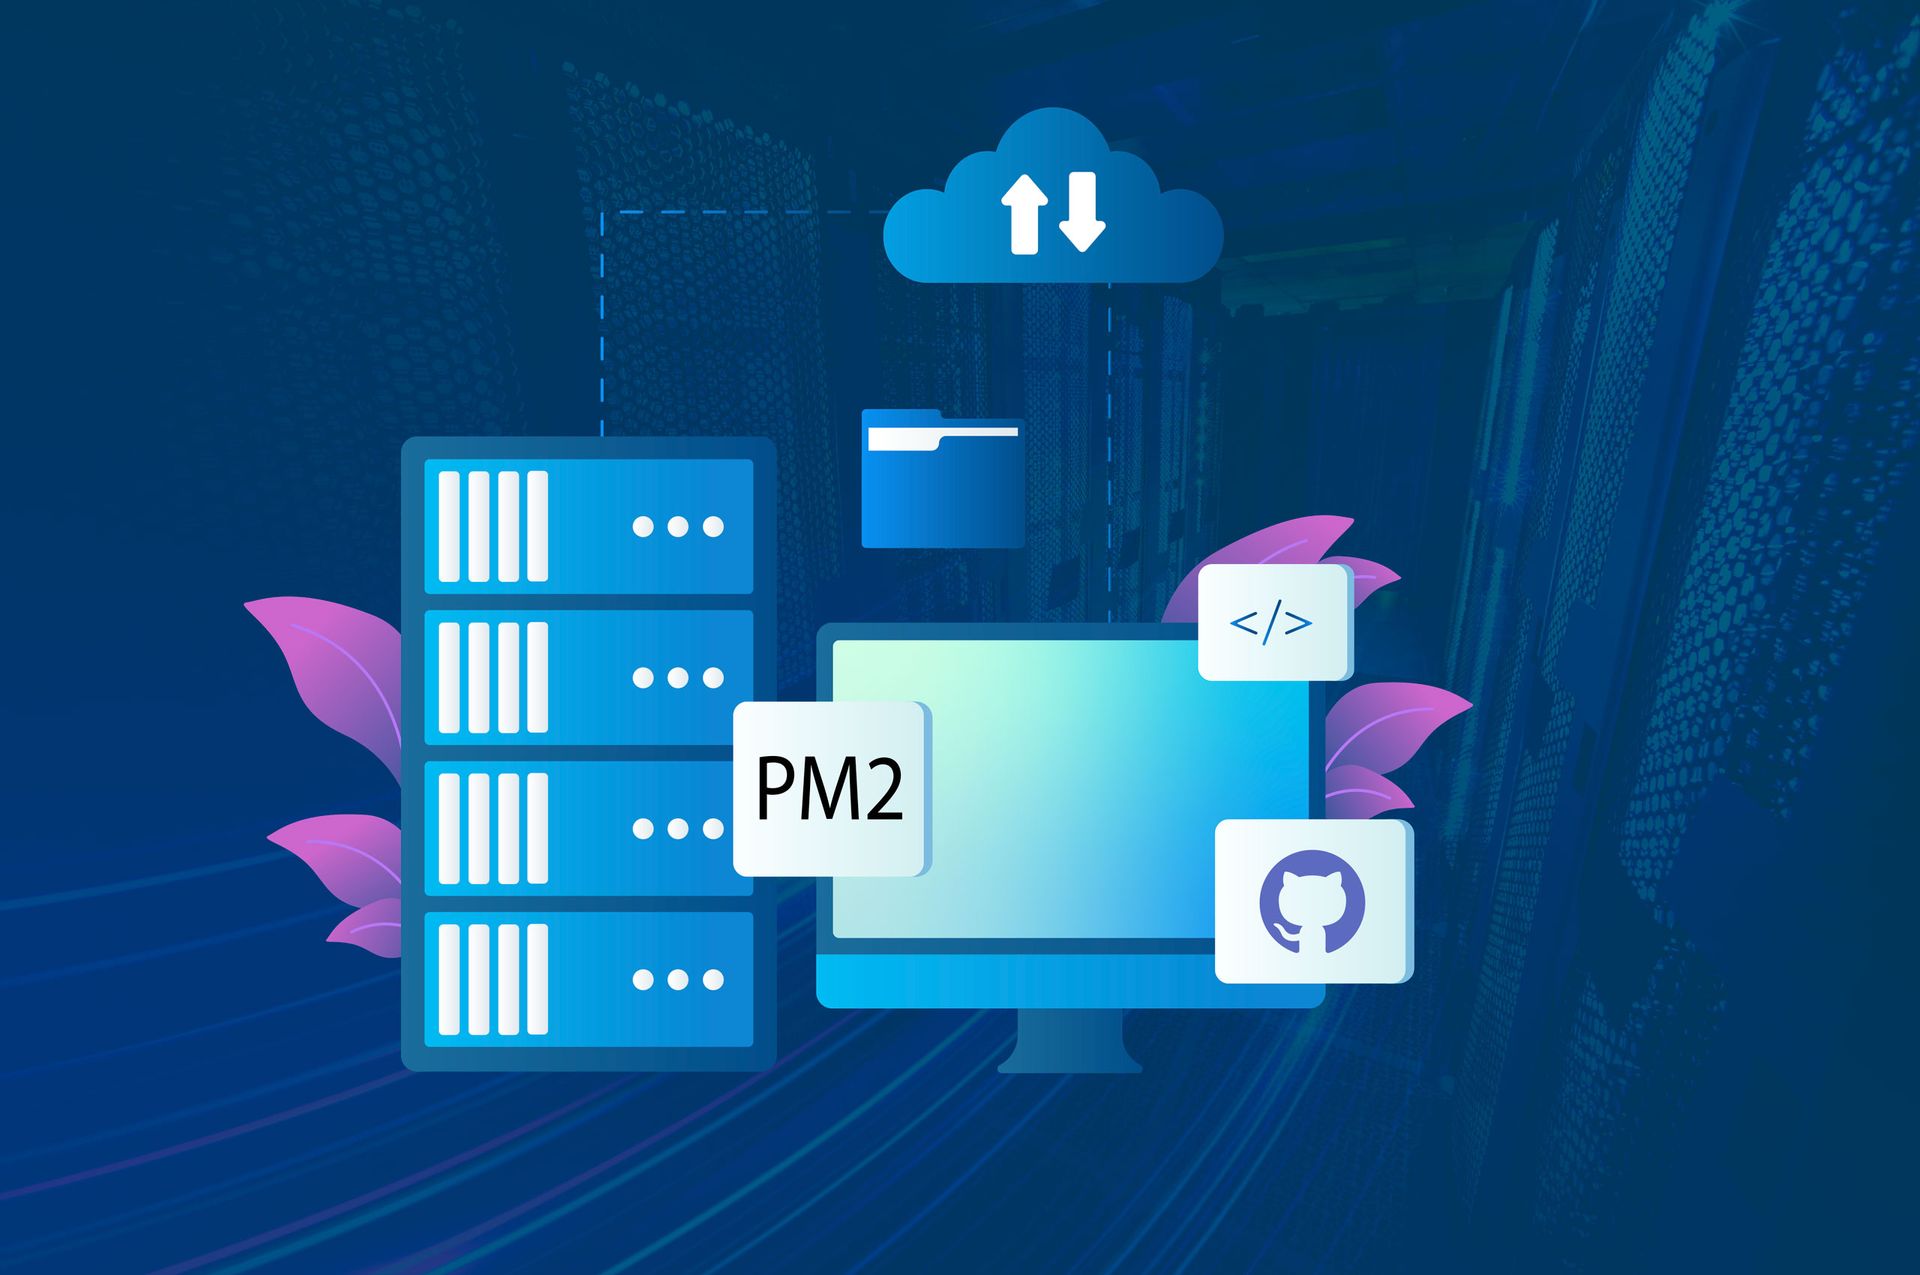
Hey there, fellow coders! In today’s post, we’re going to tackle an alternative deployment method for your Nuxt 3 app. Instead of building your project on the VPS, we'll build everything on the GitHub Actions runner and then transfer the output to the VPS using scp. This way, you avoid building directly on your VPS and save some precious server resources.
Sound good? Let's get started!
Prerequisites
Before we dive in, you should have:
- VPS (running Ubuntu, most likely)
- PM2 installed on your VPS
- GitHub repository with your Nuxt 3 code
- An SSH key set up between GitHub and your VPS
- Node.js and npm installed on your VPS
This approach is a great alternative if you want to offload the build step to the GitHub Actions runner and just transfer the built files to the VPS.
Step 1: Prepare the VPS
First, SSH into your VPS and make sure you have a directory ready for the app. Let’s create a directory specifically for the built files:
You still need to have Node.js, npm, and PM2 set up for the app to run. If you haven’t installed those yet, do it now:
Now, we're ready to set up the deployment workflow using GitHub Actions.
Step 2: Set up GitHub Actions (with scp for Artifacts)
The key difference here is that instead of building the project on the VPS, we’ll build it on the GitHub Actions runner and then transfer the built files using scp. Let’s set that up.
In your GitHub repo, create the .github/workflows/deploy.yml file:
Step 3: Breakdown of the Workflow
Let’s take a closer look at what this workflow does:
- Checkout Repository: The workflow pulls the latest version of your code from the main branch.
- Install Dependencies: Installs the required node_modules to build your Nuxt 3 app.
- Build Nuxt 3 App: Runs npm run build to generate the static files for production. Nuxt 3’s build output goes into a .output folder by default.
- Archive the Output: Compresses the .output folder into dist.tar.gz for easier transfer.
- Copy to VPS: The scp-action is used to securely copy dist.tar.gz to your VPS in the /var/www/nuxt-app/ directory.
- Extract and Restart: Once the files are copied over, the ssh-action runs a few commands on your VPS:
- Extract the dist.tar.gz file.
- Remove the compressed file after extraction.
- Restart PM2 to serve the updated app.
Step 4: Set Up GitHub Secrets
Just like before, make sure to set up the required secrets in your GitHub repository:
- VPS_HOST: Your VPS IP address.
- VPS_USER: The SSH username on your VPS.
- VPS_SSH_KEY: The private SSH key for your VPS (don’t forget to add the public key to your VPS).
- VPS_PORT: The port used to SSH (default is 22).
Step 5: Configure PM2 on the VPS
Now, ensure PM2 knows how to run your app. If you haven't already, start your Nuxt app with PM2:
This starts your Nuxt 3 app in production mode using PM2.
To make sure PM2 automatically starts the app after a reboot, run:
Step 6: Deploy!
You’re all set. Push your code to the main branch:
When you push, the GitHub Actions workflow will kick off. Watch the “Actions” tab in GitHub for the build logs. If everything runs smoothly, your app will be live on your VPS!
Conclusion
This approach is handy when you want to build artifacts on the GitHub Actions runner and transfer them to your VPS without building directly on the server. Using scp ensures that only the necessary files are sent, reducing the load on your VPS. Plus, PM2 ensures your app is always running smoothly.
That’s it for today! With this setup, you can quickly deploy your Nuxt 3 app to any VPS with minimal manual intervention. Stay automated and keep coding! Until next time!